
Review · LOMBOK & RINJANI ADVENTURES FROM KUTA
Trekking Rinjani Volcano To Crater Rim Senaru 2D-1N Private – Syam Trekker
Two days, one volcano, big views.
This private Rinjani trek from Senaru to the crater rim is interesting because you trade crowds for a full-service setup, from an English-speaking guide to porters who handle the heavy stuff. I like that your meals, snacks, and camping gear are included, so you can focus on the walk. One consideration, the route is real hiking: you gain altitude all day and then descend on Day 2, so moderate fitness helps and sturdy footwear matters.
Day 1 starts with forest walking and quick, smart breaks, including tea and biscuits at about 1,500 m. Then you climb again to the rim at 2,641 m, where the sunset can mean Mount Agung in Bali on the horizon, plus the dramatic look of volcanic activity around the lake area. If you are sensitive to early mornings or cold air at altitude, plan for layers, not just a T-shirt.
Day 2 is a sunrise-and-go day. You’ll eat breakfast, then descend through rainforest for roughly 5 hours to Senaru village at about 601 m, with lunch along the way. After that, the service ends back near the start, so you can transition from mountain mode back to Lombok without extra fuss.
Key highlights to know before you go
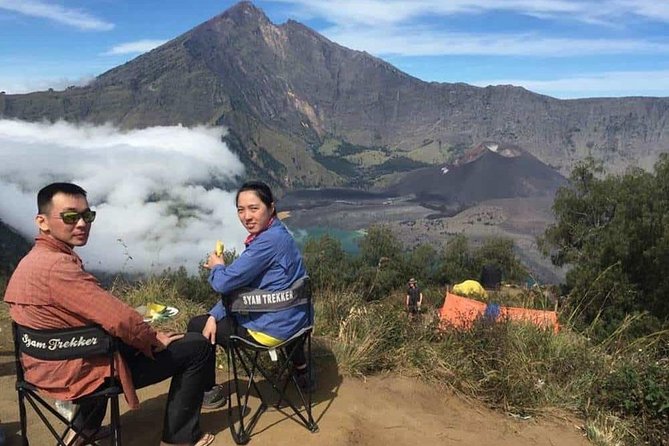
- Crater rim camping at 2,641 m gives you the best chance for rim views, not just a quick pass-through
- Tea and biscuits at Post 2 (around 1,500 m) keeps your energy up during the climb
- English-speaking guide plus porters means you spend your focus on walking, not logistics
- Included comfort kit (tents, sleeping bags, 7 cm mats, toilet tent, camp chair and table) helps you sleep better than you expect
- Food is part of the plan, with 3 meals a day, snacks, fruit, and mineral water included
- Private group setup keeps the pace and stops more tailored to your group
Other crossings to Lombok and the Gilis
- Anggrek Putih Lombok Cooking Class★ 5.0 · 253 reviews
- Day Trip Gili Trawangan, Gili Meno, Gili Air (Depart Lombok)★ 5.0 · 167 reviews
- Lombok Private Customize Tour★ 4.5 · 144 reviews
- Mount Rinjani 2 Days 1 Night Senaru Crater Rim★ 5.0 · 131 reviews
Where the Senaru trek really begins (and why timing matters)
Meet-up is at Syam Trekker in Senaru, with a start time listed as 7:00 am, and the walking begins around 08:00 from the Rinjani Trek Center Senaru area. If you’re coming from elsewhere on Lombok, you’ll want an early day anyway, because the hike doesn’t wait for your morning coffee.
The value here is that you are not just buying a route, you’re buying a schedule. Your guide sets the rhythm with breaks that match the climb, and you hit the rim in time for that classic end-of-day payoff.
You should also know this is a moderate physical fitness trek. That’s a helpful label, not a casual one. Even if you’re fit, the altitude at the rim and the steep segments mean you’ll feel the effort.
Day 1: Tropical forest to the rim, with breaks that keep you moving
The first stretch is all about moving through dense tropical forest. You’ll pass flora-rich areas and you’re likely to notice bird life and butterflies along the way, which helps the early uphill feel less like pure suffering and more like a slow nature walk that happens to climb.
A key moment comes at Post 2 Montong SATAS shelter (around 1,500 m). This is where you stop for a cup of tea and biscuits. It sounds small, but these snack breaks are part of how you keep your energy stable while your body gets used to altitude.
From Post 2, you continue uphill for about 2 hours to Pos 3 Mondokan Lolak (around 2,000 m). There you get another break plus lunch. This matters because it helps you time your fuel before the final push.
After lunch, the climb continues for roughly 2 hours up to Senaru crater rim (about 2,641 m). The rim is the point of the whole trek. You’re not just walking to say you walked, you’re walking to sit, watch, and breathe in that altitude air.
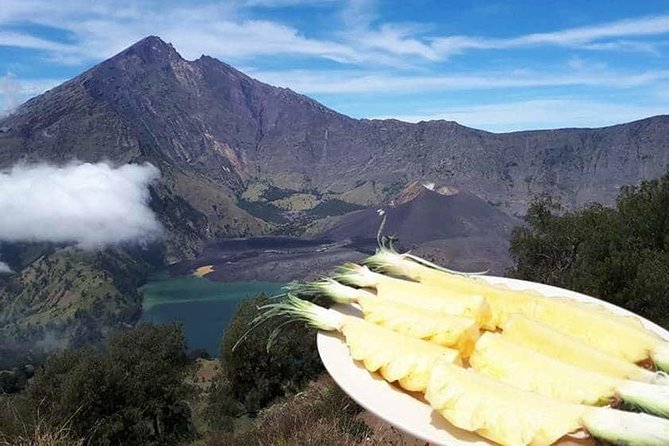
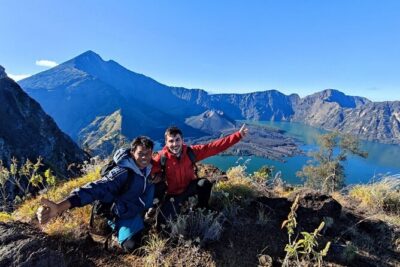
Then comes the evening payoff. At the rim, you’re set up for sunset over Mount Agung in Bali, with a striking view of volcanic activity near the lake edge. Even if you’ve seen volcano photos online, the real thing is sharper, louder in a visual way, and harder to forget once you’re up there.
At night, you camp at the rim area. That’s when the included gear earns its keep, because your comfort depends on what’s in your tent and on how well you can sleep at elevation.
Day 1 camping setup: the included comfort you’ll appreciate at 2,600 m
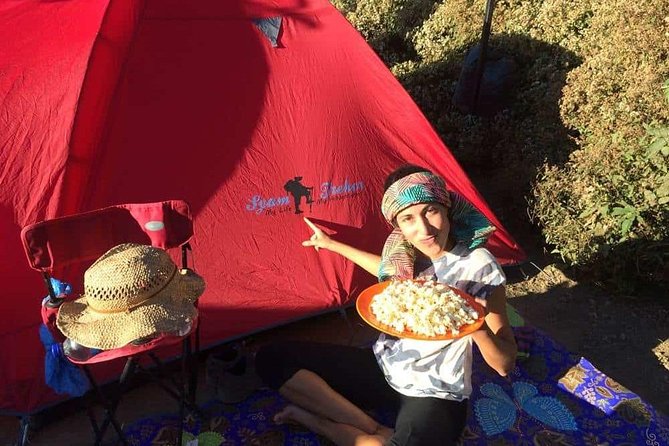
Syam Trekker includes camping gear designed for real use, not just “basic survival.” You get a tent, sleeping bags, and a 7 cm thick sleeping mat. That mat thickness might not sound exciting, but it’s the difference between sleeping and camping.
You also get a toilet tent (so you’re not improvising in the dark), plus a camping chair and table for downtime. That small touch is underrated when you’re waiting for sunset or eating after a long walk.
The plan also includes a camp routine that stays simple: you hike, you set up, you eat, you rest. You’re not asked to run your own camp operation mid-trek. For many people, that’s the difference between enjoying the rim and simply getting through it.
Day 2: Sunrise, then a rainforest descent to Senaru village
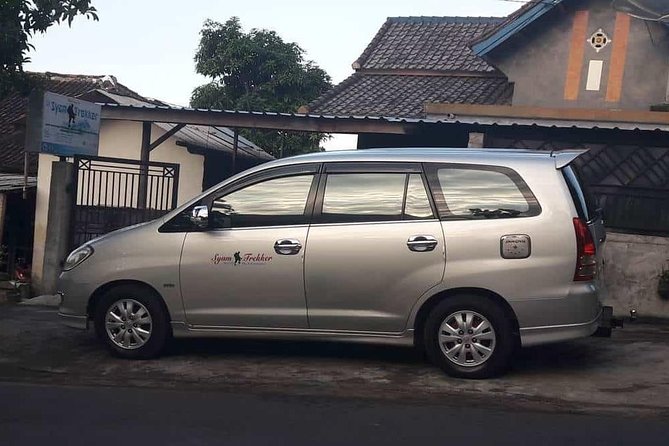
Day 2 starts with breakfast at sunrise, then you leave the rim. The descent is through rainforest, which is a big change from the higher, more exposed feeling near the rim.
You’ll descend for about 5 hours and stop for lunch along the way. Expect a mix of surfaces, with some parts likely to be slippery at times, since rainforest routes can turn slick with moisture.
By the end, you arrive at Senaru village (around 601 m). Then service ends back at the meeting point area. It’s clean and straightforward, which I like when you’ve already done the hard part.
The same day, just yours
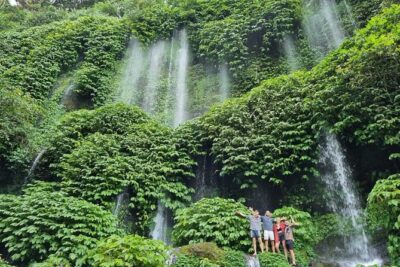
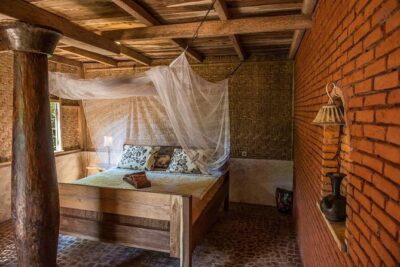
Why the guides and porters matter more than you think
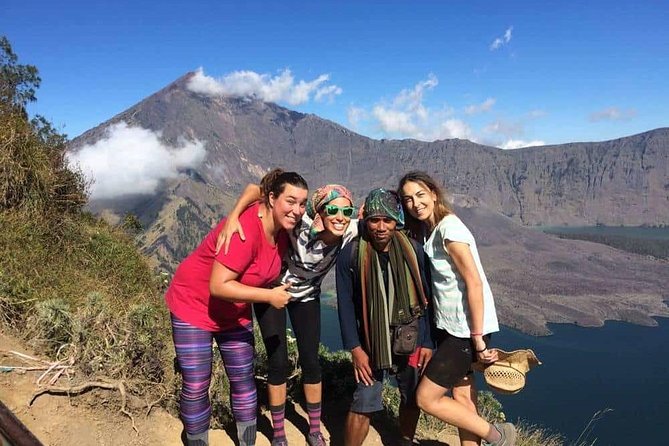
This trek lives or dies by pacing and support, and the guide and porter team is where Syam Trekker’s reviews consistently land.
You’ll have an experienced English-speaking guide and professional porters. In real terms, that means:
- You get route guidance and safety awareness when trails get steep or uneven
- Porters help handle trekking logistics so you can hike with less weight
- Your guide can explain what you’re seeing, not just the next step
The names that show up from past experiences include Hadi, Yon, Mami, Aldi, and Dean as guide or guide-team members. Others like Moon and Sam also appear in customer feedback. The common thread is that guides take effort seriously, from giving motivation when you need it to helping when the trail gets slippery.
One practical advantage of this kind of guiding is how it reduces wasted energy. A good guide doesn’t rush you, but they also don’t let you “cool down” too long at stops. You’ll feel the difference on the later stretch when legs get heavy.
Food and water: included calories that keep the trek honest
You’re not left figuring out snacks last minute. The trek includes 3 time meals a day, plus snacks and fruit, and a large bottle of mineral water per day. This is key because a volcano climb makes hunger and dehydration sneak up on you.
Good food also helps you sleep. After hiking all day at altitude, you want something filling and real. Multiple experiences emphasize that the meals and drinks are abundant and good, which is exactly what you want at the rim, where you’re tired and likely to want comfort.
Price and value: what $237 covers (and what it doesn’t)
The price is listed at $237 per person for this 2D-1N private trek. That’s not cheap if you compare it to DIY trekking, but it’s often fair when you look at what’s included.
For your money, you get:
- Private group service
- Experienced English-speaking guide and professional porters
- Entrance fee for the national park area
- All meals during the trek (3 meals plus snacks, fruit, and mineral water)
- Camping gear, including the sleep setup (sleeping bags and 7 cm mats), plus toilet tent and camp seating
- Hiking insurance
What’s not included is also straightforward: personal expense and tipping for the guide and porter.
If you’re deciding between a cheaper option and this one, I’d compare what you’re really paying for: gear quality and how much the team does for you. Here, the included sleep setup and full meals reduce your “hidden costs” and let you pack less. That can be worth a lot on a short trek.
What to pack and how to pace yourself (without overthinking)
The info you have here points to cold and effort at altitude. Since camping is involved at the rim, pack for temperature swings and plan to keep your core warm after the sun drops.
At a minimum, I’d prepare for:
- Layering for morning and evening at altitude
- Sturdy footwear for rainforest descent and potential slippery sections
- A small daypack for personal items during hikes
- A dry-change plan for after you reach camp, since you’ll be wet or sweaty at some point
Also, go into the trek with a pacing mindset. You’re hiking up to 2,641 m and then descending to 601 m in about a day and a half. That means you should take small wins seriously, like making it to tea at 1,500 m without sprinting.
Who this trek is best for
This is a strong fit if you:
- Want a private 2D-1N trek with a guide who speaks English
- Care about included camping comfort, not just getting to the rim
- Like scenic, slower forest walking before the main climb
- Prefer a structured plan with breaks, lunch stops, and meals built in
It may be less ideal if you:
- Want a super relaxed hike, because the climb and descent are genuinely physical
- Struggle with early starts, since walking begins around 08:00 after a 7:00 am start window
- Don’t like weather uncertainty, since the experience requires good weather
Should you book Syam Trekker’s Rinjani 2D-1N private trek?
I’d book it if you want the full Rinjani crater rim experience without DIY headaches. The biggest reasons are practical: included gear that improves sleep, meals that keep your energy steady, and a guide-plus-porter team that makes the hike feel safer and more manageable. If you’re aiming for sunset rim views and you want comfort at night, this is the right kind of package.
I’d think twice if your fitness is low or you hate steep walking. Also be honest about sleep. Even with good gear like the 7 cm mat and sleeping bag, you’re sleeping high on a volcano, so you need to be ready for a rougher night than a hotel.
If you’re prepared for a real hike and you want an organized, value-focused trek, this one makes sense.
FAQ
How long is the Rinjani trek from Senaru to the crater rim?
It runs for 2 days (approx.), with walking on Day 1 to reach the crater rim and walking again on Day 2 to descend back to Senaru village.
What time does the trek start?
The meeting start time is listed as 7:00 am, and the trek begins walking from Senaru around 08:00.
Where does the trek start and end?
It starts at the Syam Trekker meeting point in Senaru and begins trekking from the Rinjani Trek Center Senaru area. It ends back at the meeting point area.
What is included in the price?
Included are the English-speaking guide and professional porters, camping gear (tent, sleeping bags, 7 cm sleeping mats, toilet tent, camping chair and table, pillow), 3 meals a day plus snacks, fruits, and mineral water, hiking insurance, and the Rinjani national park entrance fee.
What is not included?
Not included are personal expenses and tipping for the guide and porter.
Is this tour private?
Yes, it is listed as private, meaning only your group participates.
What fitness level do I need?
You should have moderate physical fitness to do this trek.
What does Day 1 involve?
Day 1 starts with trekking through tropical forest, with stops including Post 2 Montong SATAS shelter (~1,500 m) for tea and biscuits and Pos 3 Mondokan Lolak (~2,000 m) for a break and lunch. You then climb to Senaru crater rim (~2,641 m) for sunset views and camp there overnight.
What does Day 2 involve?
After breakfast with a sunrise, you descend from the rim through rainforest for about 5 hours, with lunch along the way, and arrive at Senaru village (~601 m). The service ends after that.
What happens if weather is bad?
The experience requires good weather. If it’s canceled due to poor weather, you’ll be offered another date or a full refund.
What is the cancellation policy?
You can cancel for a full refund up to 24 hours before the experience’s start time. If you cancel less than 24 hours before, the amount paid is not refunded.
If you tell me your hiking comfort level (for example, how you handle steep trails and altitude), I can help you judge whether this pace fits you well.
The Same Day, Just Yours
- Lombok Private Customize Tour
★ 4.5 · 144 reviews - Lombok Driver Customizable Tour Private
★ 5.0 · 80 reviews - Lombok Private Tour-Car Hire With Full day Customize Trip
★ 5.0 · 37 reviews - Private 2 Days and 1 Night Summit in Mount Rinjan
★ 5.0 · 35 reviews
More Tour Reviews in Lombok
- Tetebatu Walking Tour – Rice Terraces, Waterfall & Monkey Forest
★ 5.0 · 349 reviews - Anggrek Putih Lombok Cooking Class
★ 5.0 · 253 reviews - Day Trip 5 Secret Gilis : Layar, Rengit, Nanggu, Tangkong, Kedis
★ 5.0 · 192 reviews - 2D1N Senaru Crater Rim Trekking
★ 5.0 · 178 reviews
Across to Lombok
- Anggrek Putih Lombok Cooking Class
★ 5.0 · 253 reviews - Day Trip Gili Trawangan, Gili Meno, Gili Air (Depart Lombok)
★ 5.0 · 167 reviews - Lombok Private Customize Tour
★ 4.5 · 144 reviews - Mount Rinjani 2 Days 1 Night Senaru Crater Rim
★ 5.0 · 131 reviews
Fresh on the Lombok pages


Lombok & Rinjani Adventures from Kuta, compared.
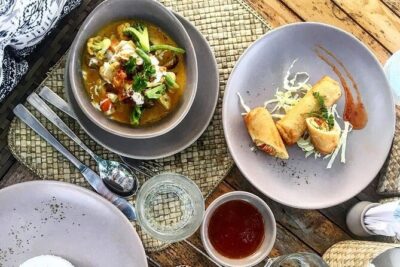 ★ 5.0Gili Island Snorkeling Trip – Gili Trawangan, Gili Meno, & Gili Air, From LombokFrom $88330 reviews
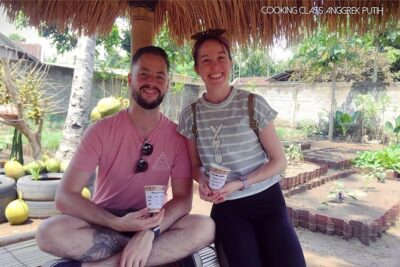 ★ 5.0Anggrek Putih Lombok Cooking ClassFrom $30253 reviews
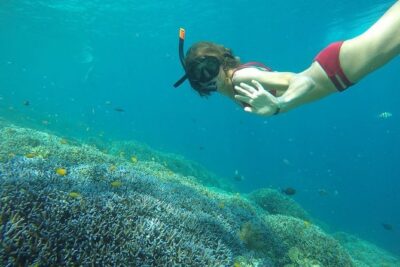 ★ 5.0Day Trip Gili Trawangan, Gili Meno, Gili Air (Depart Lombok)From $97167 reviews
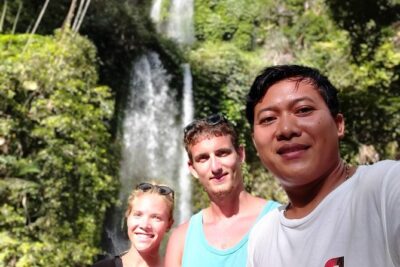 ★ 4.5Lombok Private Customize TourFrom $45144 reviews
Mount Rinjani 2 Days 1 Night Senaru Crater RimFrom $165131 reviews
★ 4.5Lombok Private Customize TourFrom $45144 reviews
Mount Rinjani 2 Days 1 Night Senaru Crater RimFrom $165131 reviews
 ★ 5.03D-2N Explore Mount Rinjani – Summit -Lake and HotspringFrom $235112 reviews
 ★ 5.0Lombok Pink Beach Boat Trip (Full Day + Snorkeling)From $88104 reviews
 ★ 5.0Rinjani trekking 2D 1N RIMFrom $20594 reviews
More Kuta tours like this one